

Surya Namaskar, commonly known as Sun Salutation, is one of the most powerful and complete yoga practices for beginners and experienced practitioners alike. It is not just a sequence of poses; it is a holistic routine that combines movement, breath, focus, and mindfulness into one flowing practice. This guide explains how many steps in surya namaskar in a simple, beginner-friendly way so you can confidently practice every day and build a strong foundation for long-term health and well-being.
What Is Surya Namaskar?
Surya Namaskar is a traditional yoga sequence made up of twelve postures performed in a smooth, rhythmic flow. Each movement is synchronized with breathing, making it both a physical workout and a moving meditation.
Why Beginners Should Start with Surya Namaskar
Many people begin yoga by jumping into complex poses and then struggle with consistency or injury. Surya Namaskar solves that problem. It is structured, progressive, and adaptable to different fitness levels.
Some of the key benefits for beginners include:
Improved flexibility and posture
Increased strength and stamina
Better digestion and circulation
When practiced daily, Surya Namaskar becomes a powerful habit that supports both physical health and mental balance.
Understanding the Surya Namaskar Steps
The traditional Surya Namaskar sequence consists of twelve steps or postures. Each step flows naturally into the next, creating a smooth cycle of movement and breath. Below is a clear explanation of each step so beginners can practice safely and correctly.
Step 1: Pranamasana (Prayer Pose)
Stand upright with your feet together and your spine straight.
Step 2: Hasta Uttanasana (Raised Arms Pose)
Inhale deeply and raise your arms overhead. Gently arch your upper body backward while keeping your chest lifted and your core engaged.
Step 3: Uttanasana (Standing Forward Bend)
Exhale and bend forward from the hips, bringing your hands toward the floor beside your feet. Try to keep your spine long rather than rounded.
Step 4: Ashwa Sanchalanasana (Equestrian Pose)
Inhale and step your right leg back, lowering the knee toward the floor. Bend your left knee and look forward, lifting your chest.
Step 5: Phalakasana (Plank Pose)
Hold your breath and step your left leg back, bringing your body into a straight line from head to heels. Your arms should be strong, and your core engaged.
Step 6: Ashtanga Namaskara (Eight-Limbed Pose)
Exhale and lower your knees, chest, and chin to the floor while keeping your hips slightly raised. Eight parts of the body touch the ground: two hands, two feet, two knees, chest, and chin.
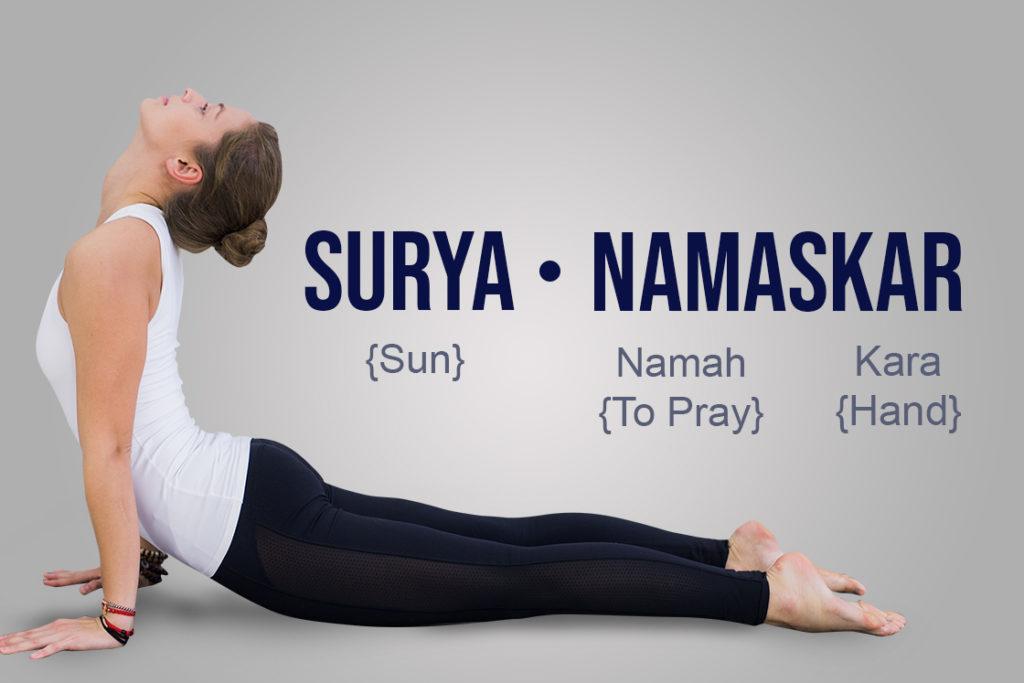
Step 7: Bhujangasana (Cobra Pose)
Inhale and slide your chest forward, lifting your upper body while keeping your elbows slightly bent and shoulders relaxed. Your hips remain on the floor.
Step 8: Adho Mukha Svanasana (Downward Facing Dog)
Exhale and lift your hips upward, forming an inverted V shape with your body. Press your palms into the floor and lengthen your spine.
Step 9: Ashwa Sanchalanasana (Equestrian Pose)
Inhale and step your right foot forward between your hands, lowering your left knee to the floor. Lift your chest and look ahead. This mirrors Step 4 and continues the flow of movement and breath.
Step 10: Uttanasana (Standing Forward Bend)
Exhale and step your left foot forward, bringing both feet together. Bend forward again, placing your hands beside your feet.
Step 11: Hasta Uttanasana (Raised Arms Pose)
Inhale and lift your torso upright, raising your arms overhead and gently arching backward. This mirrors Step 2 and reopens the chest and lungs.
Step 12: Pranamasana (Prayer Pose)
Take a calm breath and notice how your body and mind feel after completing one round.
How Many Rounds Should Beginners Practice?
For beginners, starting with 4 to 6 rounds of Surya Namaskar is ideal. One round includes performing all twelve steps on both sides (switching the leg that steps back first). As your strength, flexibility, and stamina improve, you can gradually increase to 8, 12, or even more rounds depending on your fitness level and goals.
Consistency matters more than quantity. Practicing a few rounds daily with proper form is far more effective than doing many rounds occasionally with poor technique.
Best Time to Practice Surya Namaskar
Traditionally, Surya Namaskar is practiced early in the morning on an empty stomach, preferably at sunrise. This time is considered ideal because the body is fresh, the mind is calm, and the air is clean.
If mornings are not possible, you can practice later in the day, as long as your stomach is empty or you’ve waited at least three to four hours after a meal. The most important factor is consistency — choose a time you can stick to daily.
Breathing Tips for Proper Practice
Breathing is a key part of Surya Namaskar. Each movement is synchronized with either inhalation or exhalation, creating a rhythmic flow that supports both physical and mental balance.
If you ever feel breathless or dizzy, slow down, reduce the number of rounds, and focus on maintaining calm, controlled breathing.
Who Should Be Cautious While Practicing?
While Surya Namaskar is generally safe, people with certain health conditions should practice with caution or consult a qualified yoga instructor or healthcare professional. This includes individuals with back injuries, joint problems, heart conditions, hernia, or recent surgery.
Listening to your body is essential. Yoga is about balance, not pushing through pain.
Final Thoughts
Learning the Surya Namaskar steps is one of the best decisions a beginner can make on their yoga journey. It offers a complete, efficient, and accessible way to improve physical fitness, mental clarity, and emotional balance. If you’re serious about building a strong yoga foundation, start with Surya Namaskar — and let your daily practice become your greatest investment in health.